Report Setup
Tabs: Page Setup - Lab. Header - Report Header - Method - Calibration - Chromatogram - Results - Sequence
This dialog serves for selecting and adjusting the report style, setting of a printer and initiating of the print itself. The dialog opens either by using the Report Setup command or  icon from any major window. The displayed report style depends on the window from which the Report Setup window was opened - report styles set may differ between different windows.
Note:
When the mouse cursor is placed over the icon (Report Setup) and left still for a moment, the tooltip will appear with the name of the current report style. When placed over the  icon (Print) the tooltip will display the current report style and currently selected printer.
The station is supplied with pre-set report styles that are set to be used from all windows that contain printing report commands. These styles may be modified, copied, relocated or replaced by user specified styles. Report styles are located in C:\CLARITY\DataFiles\COMMON. Default report style is dependent from which location it has been opened, e.g. while in Chromatogram window, after invoking Report Setup command, the Chromatogram.sty report style is used for printing. Analogous behavior applies for other windows.
Report Setup
The report is printed in order respective to tabs order on the left. By right click on the tab you can move the tab up or down. The order of Page Setup
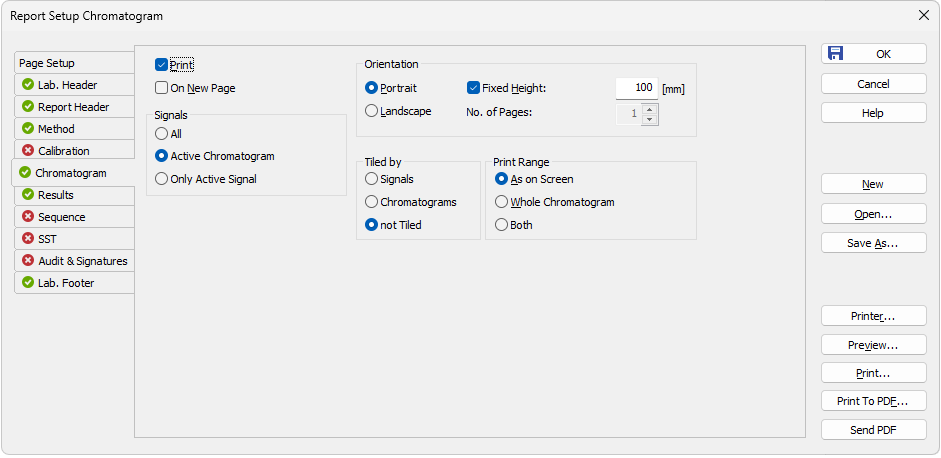
All tabs of the Report Setup dialog use the same set of buttons aligned to the right side. These buttons perform following actions:
OK
Saves any changes made in the Report Setup dialog and exits it.
Cancel
Exits the Report Setup dialog. If there were any changes made to some parameter, the user is asked if he wants to save the new values.
Creates a new, empty report style. The values of all variable items of the report style will be erased or reset to default values. If the previously opened report style contains unsaved changes, Save As dialog is invoked.
Selects and opens a report style. Invoking the command will open the Open Report Style dialog similar to the Open Method dialog
Saves the print style under a newly specified name. When invoked, the Save As dialog will be displayed with the name of the original file. Change the file name to save the file as a new report style, or leave the name as it is to save the changes to the same report style. When the file name selected is already used, you will be notified.
Note:
For existing filenames, message box about file overwriting pops up.
Selects the printer to be used. When invoked, the standard Print Setup dialog for selecting and setting up the printer will open.
Displays a preview of the printout (for more details see also chapter Print Preview)
Initiates the printing of the report. When invoked, the command will open the standard Print dialog. The date and time of the report will be printed on each page. For tabs where the OVERLAY mode is possible only information about the active chromatogram will be printed.
Prints the report to *.PDF file. Using the button invokes the Print to PDF dialog where the user can select filename and location of the resulting *.PDF file.
Note:
*.PDF files can be read by freely available Adobe Acrobat Reader.
Sends the *.PDF file as an email attachment. The command will automatically print the report to *.PDF file, create new message in your default email client and enclose the created *.PDF file as an attachment.
Then you can fill in the remaining information (recipient, text of the message, etc.) into the email message and send it.
List of tabs:
- Page Setup - Sets up the printed page.
- Lab. Header - Sets up the page header.
- Report Header - Reported data about the analysis.
- Method - Sets up the method printout.
- Calibration - Sets up the calibration printout.
- Chromatogram - Sets up the chromatogram printout.
- Results - Sets up the results printout.
- Sequence - Sets up the sequence printout.
- SST - Sets up the system suitability report.
- PDA - Sets the printout for the PDA method.
- NGA - Sets the printout for the NGA method.
- Audit & Signatures - Sets up the audit trail and electronic signatures report.
- Lab. Footer - Sets up the page footer.
The report itself is ordered in the order of the tabs shown - to change the order of the item groups in the resulting reports, re-order the tabs in the Report Setup dialog by using the Move to the Top/Move Up/Move Down/Move to the Bottom commands from the local menu on each tab. The Page Setup tab cannot be moved down
Most of the tabs contain the following two checkboxes:

Allows/disallows the printing of the relevant part. If checked, the symbol  will be shown before the tab name and other fields on the tab will become editable.
If checked, the relevant part will be printed on a new page.