Updating Clarity Software
These are the basic steps you have to follow to update Clarity.
- Check for the updates: click Help - Check for Updates... or download new version of the software from the Downloads at our website.
- Run the installer.
 More
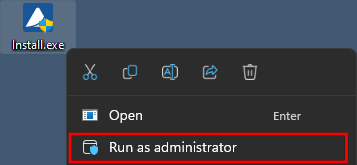
More- On administered systems use „Run as Administrator“ from intended User account. Administered systems are managed by an administrator and users using the PC may not have administrator privileges. Insufficient privileges may result in:
- Clarity not being installed.
- When installed from Administrator account, the installation directory may be read only for users with limited privileges and the station will be inoperable.
- On administered systems use „Run as Administrator“ from intended User account. Administered systems are managed by an administrator and users using the PC may not have administrator privileges. Insufficient privileges may result in:
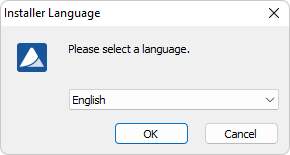
- Select the language.
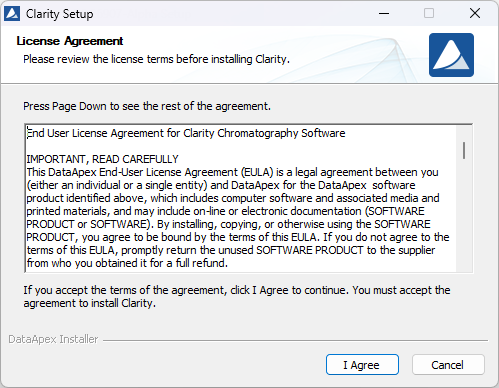
- Confirm the License Agreement. It is possible to continue only in case you agree with the statement.
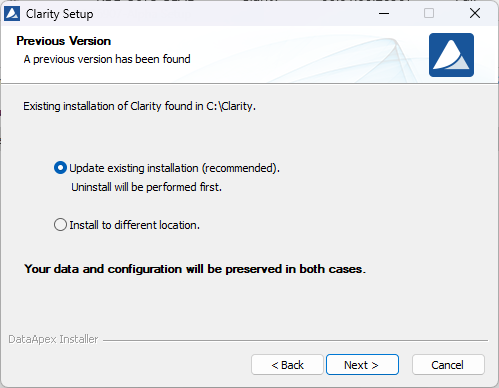
- Previous version of Clarity will be detected. Decide whether to update or preserve this version.
Note:
In both cases your data and configuration will be preserved.
Note:
Selecting Install to different location will result in presence of two different Clarity version at once (current version will be left as it is and new version will be installed elsewhere).
- If you select to Update existing installation it is necessary to confirm the User code (code from current version will be pre-filled).
Caution:
Each major version (change of the first version number) since version 9.0 requires new User Code. Make sure that you have a valid User Code for newly installed version before proceeding further. For more information see https://www.dataapex.com/upgrade.
Caution:
Downgrading is not supported and might be problematic in some cases.
- Clarity will proceed with uninstallation, following window appears.
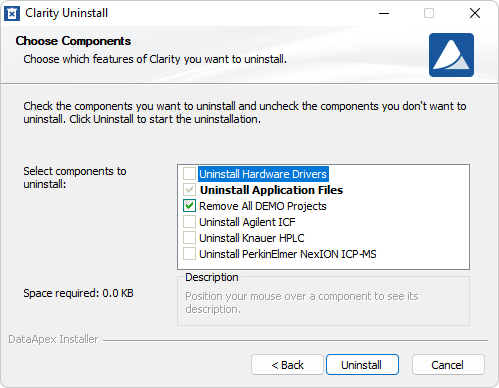
- Continue to Choose Components step and click Uninstall.
Caution:
When Remove All DEMO Projects is selected all files within them will be lost, including any data you saved into their folders. DEMO projects should never be used to store your data.
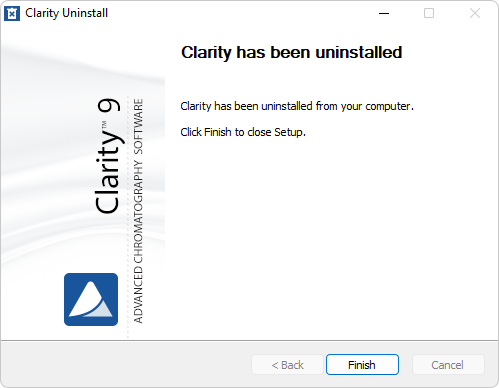
- Wait for uninstall to finish and click Finish in the following window.
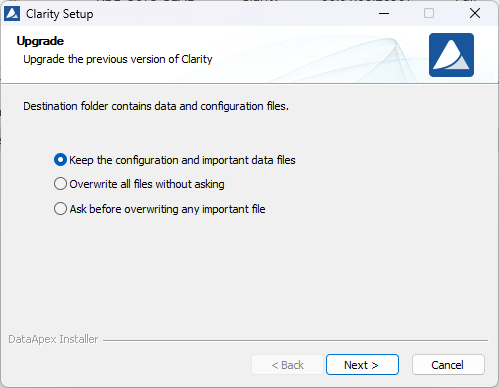
- Choose what to do with existing data and configuration files.
Caution:
It is recommended to select Keep the configuration and important data files to preserve all of your settings and data. Other two options might lead to losing important files and should be only used under special circumstances.
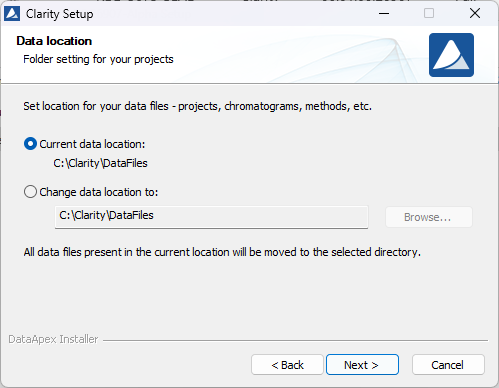
- Set destination folder for your data files. If data location is changed all data from current version will be moved accordingly.
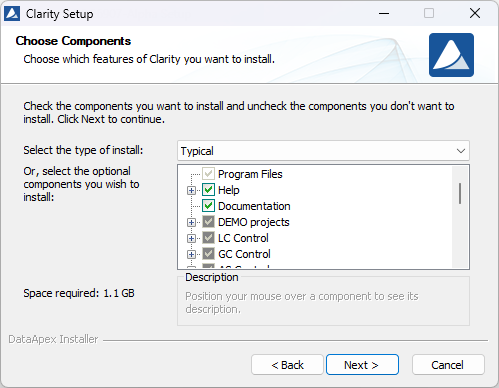
- Select type of installation. Installation type which was used for current version will be preselected. Make sure that control module for your device is selected to be installed
Note:
In most cases "Typical" should be selected. "Custom"/"Full" installation is necessary e.g., for Agilent and other devices controlled via ICF, DANI devices and few others.
Note:
List only contains names of original devices. If you can't find your device, even though it is stated as controlled, it is most likely an OEM version of different device.
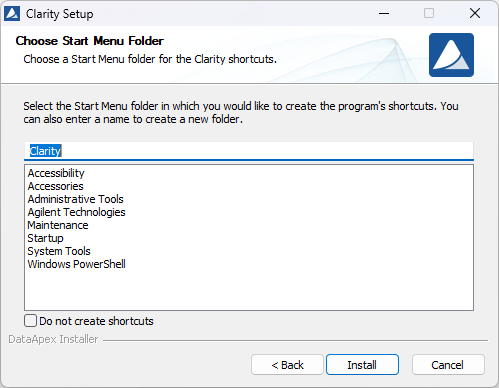
- Select the Start Menu folder for the shortcut or create a new one. After clicking Install installation process will start.
- Wait for installation to finish.
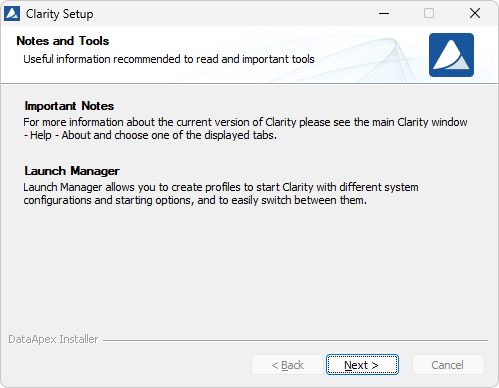
- When installation is finished Notes and Tools window will be opened.
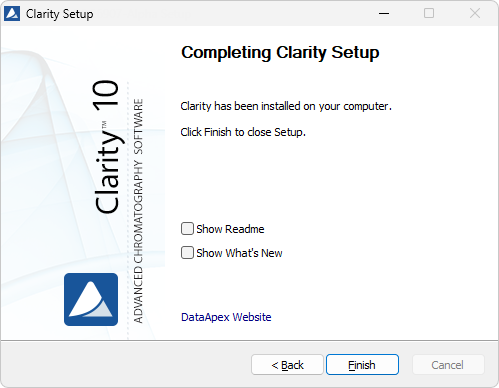
- Finally the last window offers to view What's New and Readme.


Note:
To run and generate IQ Report start Clarity and use Help - IQ Report command in the main window.
Caution:
When upgrading from Clarity 6.2 or older to Clarity 7.0 or newer be aware that there is change in the installation structure. The content of the original installation folder is separated to three new subfolders BIN, CFG and DataFiles. The respective files are moved automatically during update to the new locations if you selected Update existing installation. In the rare cases this fails, some files may need to be moved manually.