Installing Clarity Software
These are the basic steps you have to follow for the First installation of Clarity.
First installation of the software (since version 9.0)
- Install the software BEFORE connecting any hardware.
 More
More- The software can be installed by inserting the installation USB and running install.exe or by downloading the installation from the Downloads at our website.
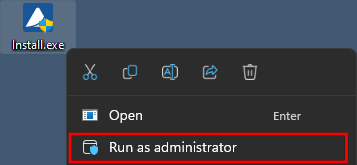
- On administered systems use „Run as Administrator“ from intended User account. Administered systems are managed by an administrator and users using the PC may not have administrator privileges. Insufficient privileges may result in:
- Clarity not being installed.
- When installed from Administrator account, the installation directory may be read only for users with limited privileges and the station will be inoperable.
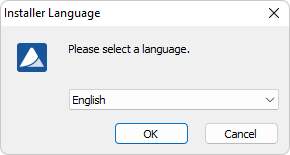
- Select the language.
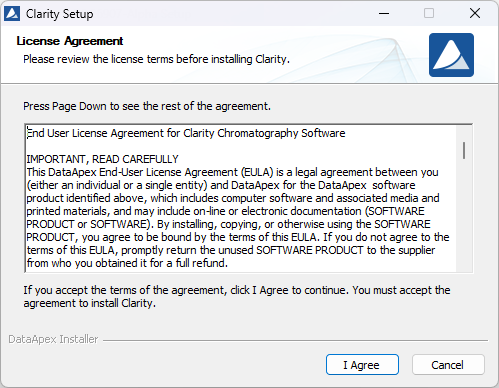
- Confirm the License Agreement. It is possible to continue only in case you agree with the statement.
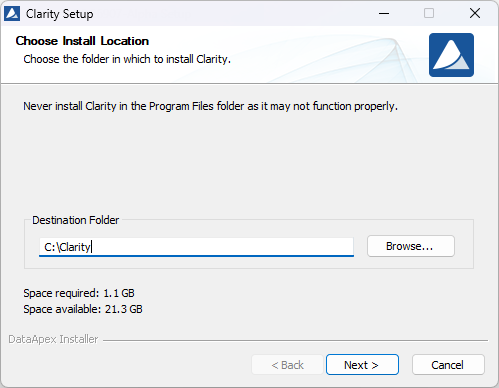
- Choose the destination folder. The user must have Read/Write/Modify access to the installation directory.
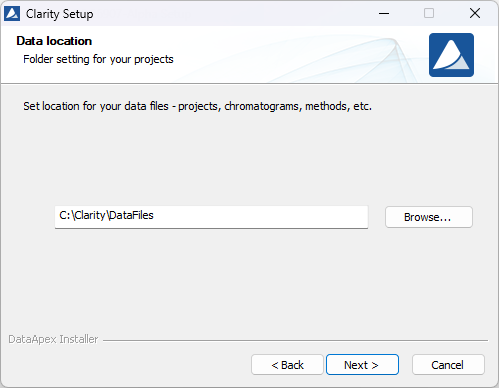
- Set location for your data files. C:\CLARITY\DataFiles is set by default. Notice that Data location folder name cannot contain following characters / : * ? " < > | and also cannot start or end with a space and cannot end with a dot.
- Enter the User code corresponding to your hardware key or select Enter User Code later to start 30-day Trial.
Note:
The user code can be found on the back side of the card provided with the Installation USB. Alternatively, you can contact DataApex support to obtain one.
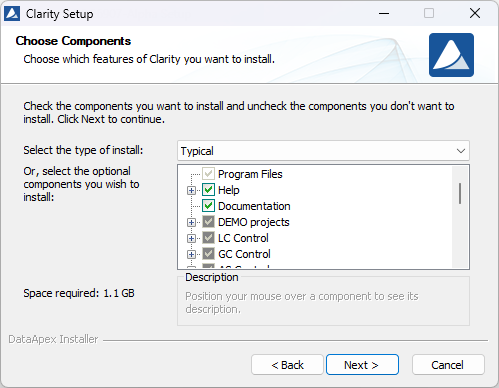
- Select the type of installation. Make sure that control module for your device is selected to be installed.
Note:
In most cases "Typical" should be selected. "Custom"/"Full" installation is necessary e.g., for Agilent and other devices controlled via ICF, DANI devices and few others.
Note:
List only contains names of original devices. If you can't find your device, even though it is stated as controlled, it is most likely an OEM version of different device.
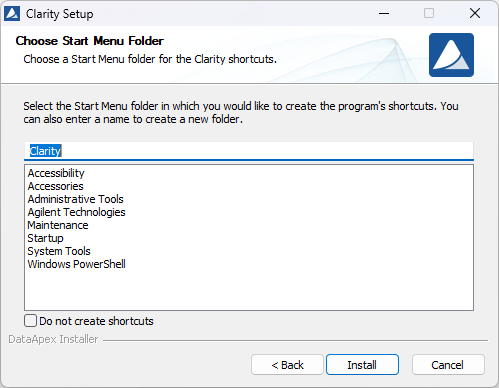
- Select the Start Menu folder for the shortcut or create a new one. After clicking Install installation process will start.
- Wait for installation to finish. In the end you might be prompted to confirm installation of several hardware drivers.
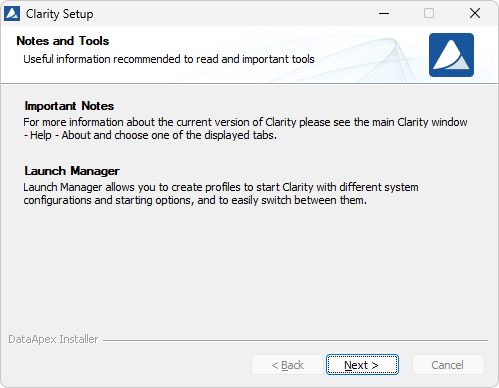
- When installation is finished Notes and Tools window will be opened.
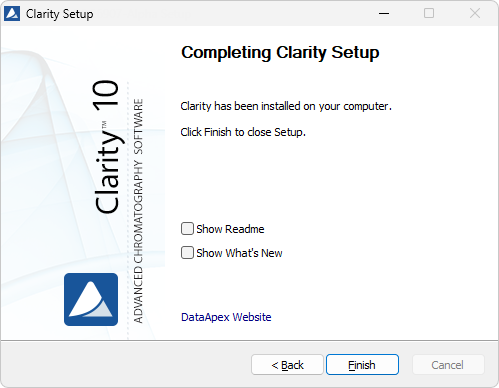
- Finally the last window offers to view What's New and Readme.

Note:
To run and generate IQ Report start Clarity and use Help - IQ Report command in the main window.